Friday, December 28, 2012

A Look Back At 2012

First off, am I the only one who is still writing 2010 instead of 2012? What is the matter with me?! 2013 is going to be difficult to get used to.

.

The number one post of the year is still the kitchen change in our old house. It's the number one post on my blog! :)


Y'all seem to really have a thing for my kitchens! 2012 brought about a move for us. All the way from North Carolina to Indiana. Number two post of the year is of our first apartment's kitchen.


After I showed you our new kitchen I finally got my act together and did a house tour. 


Back to our North Carolina duplex for the fourth top post of the year. After changing the layout on the kitchen we finally finished painting the cabinets. I say finished, but we really only did one side of the room. We never got around to the other side because we up and moved the next month!


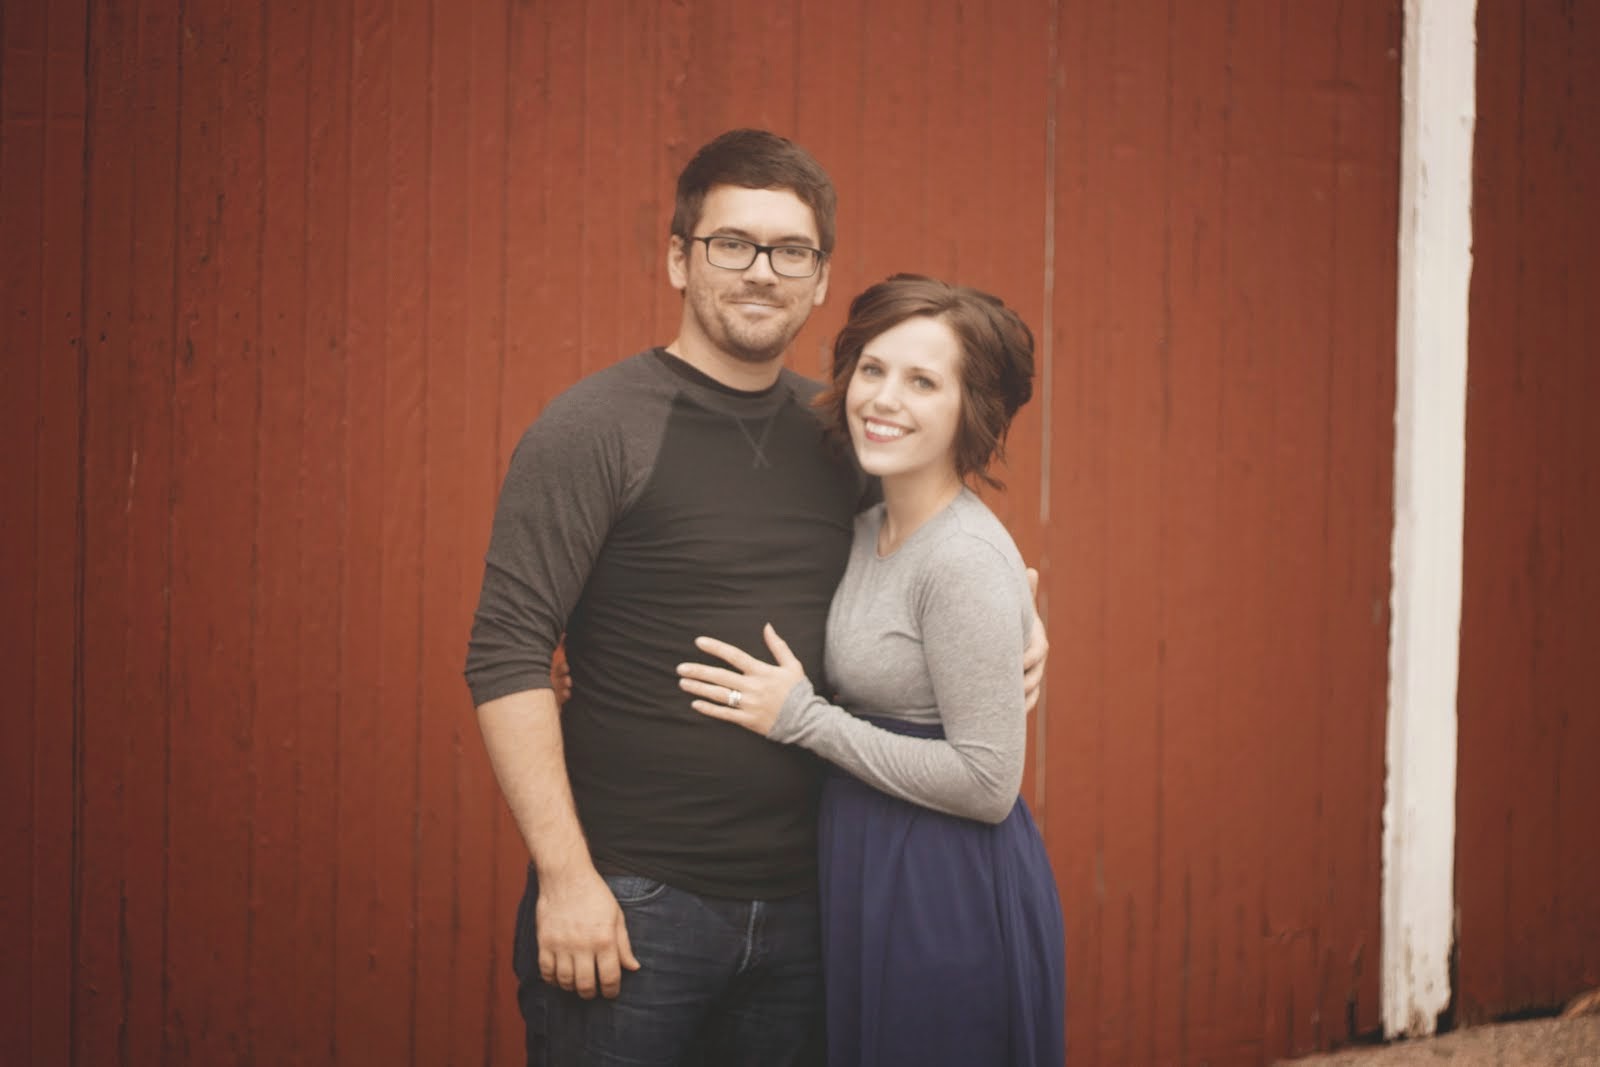
Something completely un-house related comes in at number five. I picked out family outfits for an upcoming photo shoot. It was a lot of fun going through our closets and finding coordinating outfits. The best part is I didn't have to buy a single piece.


And here it is in action!

(slightly different due to the weather)

Keeping up with the clothing a WIW is coming in at number six. I'm always surprised at the top outfits.


Another WIW is a close seventh.


A more recent post comes in at number eight. I copied an abstract painting from Tanya at Dans le Townhouse


Another kitchen post is my number nine post of the year. You all gave such positive feedback that I was able to update it enough to have my number one post!


The last of the top ten posts of the year is yet again another kitchen post. (This has really motivated me to finish my current kitchen!)


It was a lot of fun looking back through this past year. Hard to believe we've moved twice! Overall it was a pretty great year. Jordan has been promoted twice since he started working for Target a little over a year ago. I've been able to find a job I really like as well. Our sweet little is now in Ballet Class and is writing her name like a champ. Kitty is still here, and didn't get fleas. I can't wait to see what's in store for us in 2013! I have a feeling it's going to be a pretty amazing year.

Wednesday, December 26, 2012

Messy Bun Tutorial

Hey everyone! Just popping over with a quick hair tutorial. With the busy holiday season in full swing I haven't had a chance to really take the time to do my hair. I don't know about you but I have terrible static in the winter. It's instant and lasts the whole time. I find myself pulling it up more and more often, only to have the pony get just as static-y, if not worse. One day I was running seriously late for work and didn't have the time to mess with it. And out of that came one of my favorite (if not my absolute favorite) go-to hairstyles. I've had a few people ask me how I did it, so I thought a tutorial would be the best way to go. I've tried just explaining it, but there's something about those photos that really put it all into perspective.

Messy Bun

 Tools needed:
dry shampoo
hairspray
teasing comb
2 pony tails
bobby pins (as many as you need. it varies each time for me) 
 

Step 1: Start with second, third, fourth, fifth, sixth, etc. day hair. The dirtier the better I think. Pretty sure mine was at fourth day hair here. It also works best on wavy or curly hair. I have not tried it on straight hair but I imagine it would be pretty difficult. Once you get going, you'll see why.


Step 2: Dry Shampoo. Life changer. Spray the crap outta your hair. It gets rid of the oil and makes it easier for you to set your hair. Gives the bobby pins that extra hold.


Step 3: Teasing. I'm not going to go into a side tutorial on teasing. Mainly because I really have no idea how to do it properly. If you want to see a great tutorial, check it out here.


I tease the top layer.


And then the under and sides. 


After that I run my fingers slightly through it to break it up a bit. Just enough to smooth it out and cover up the "rats nest".


Step 4: First pony tail. It doesn't really matter what color it is. This pony tail will be completely hidden. I like to tuck the hair around my face behind my ears. You don't have to do this. I think this look would look great with bangs of any kind. I'm growing mine out and currently hate them, so pinned back is ideal for me.


Step 4.a: Whenever I pull my hair back I lose a lot of the volume. So I pull out a lot of the strands to kind of fake a bump. I get asked a lot if I have a "Bump-It" in my hair or if I tease it a whole heck of a lot. Answer is no. I pull my pony tail out. My bump is hollow.


I tend to exaggerate my bump when I wear this style. I think it adds more character to the look. It also gets rid of some of the hair, making the look more effortless.


Step 5: The second pony tail. I like to use a pony closer to my natural color. It doesn't often show, but on the off chance that it does, at least it's not white and sticking out.


Form a loose, messy bun with your hands. Don't worry about getting all of pieces into the pony. Some pieces hanging down is just fine. Loop the pony twice (or as many times as you need to for it to feel secure)


It will be different each time you do it.


Step 6: Pull on the bun, on both sides to loosen it up a bit more. You will later pin all the hair in place, so don't stress too much about it at this point. I try to make both sides even, so keep that in mind.


Step 7: Pin hair into place until you have the look you want. Sometimes I can get away with using 4 or 5 bobby pins and other times it takes closer to 10 or 15. 


I pin randomly. Sometimes I keep the loose pieces on the side they came from and other times I'll crisscross it. Like I've said, there is really no wrong way to do it.


Step 8. Hairspray. All over. 


That's it! It normally takes me 5 to 7 minutes to complete this style, start to finish. I love how simple it is, and how it looks like you took a lot of time to fix your hair. I think it's the kind of style that can me great for all different lengths as well.

I wore my hair like this for Christmas.


I really hope you try it out. And let me know how it turns out for you! If I get enough of a response, I'll do a video tutorial.


polka dot shirt, sheer white top, choker necklace- Forever 21. pants- H&M. pearl earrings- Target.


Linked ::  The Pleated Poppy
Rolled Up Pretty

Wednesday, December 19, 2012

What I Wore


scarf, boots- Target. jeans- Old Navy. shirt- Woot. cardigan- Meijer


So, this has been my go to hair style lately. It's super easy and fast. It also keeps my hair up and static free. Sometimes it looks more polished and other times it's all over the place. That's the beauty of it. It's worry free. I'm working on a tutorial too.


Linked ::   The Pleated Poppy
Rolled Up Pretty

Wednesday, December 12, 2012

Christmas Through The Years

Hey everyone! Sorry I've been M.I.A. these past few weeks. I came down with a super flu that knocked me on my butt for about 7 days. It was awful. I couldn't get out of bed or anything. So, I've been playing a lot of catch up.

Yesterday I showed you our Christmas decorations for the year. I thought it would be fun to show you all our past Christmases. This will be Story's fifth (!) Christmas, and our third as a married couple. In that time we've also lived in 5 different houses :) We've gotten around a lot.


Family Portraits


Baking cookies


Night Before Christmas


Kitty


Family Time


This will be our first Christmas in Indiana since 2009. We're really excited to get to spend this special time with Jordan's family. But we're missing our North Carolina family like crazy and really hope they can make the trek here to see us soon!


I can't believe how much Story has grown! The difference between 2009 and 2010 blows my mind. She's 4 1/2 now and is a Christmas expert. I can't wait to add photos of this year :)

Hello All! I'm Faith- and welcome to Pike's Place. Here you will find an assortment of DIY, house related posts, a little bit of fashion, and family. Take your time and have a look around!

Follow Me

Visits

Pike's Place Blog

Pike's Place Blog
Suburbsmama
The DIY'ers />

Follow this blog with bloglovin

Follow Pikes Place